

Marine toggle switch replacement
How to Replace a Marine Toggle Switch and Add a Beauty Ring
By New Wire Marine Technical Team Updated October 5, 2026
A worn toggle switch can make a clean dash look tired, and damaged terminals can keep the circuit from working correctly.
This guide explains how to replace a marine toggle switch: document the existing wiring, remove a boot-mounted switch, install a compatible replacement with a stainless-steel beauty ring, and label the wires so the next round of service is easier.
The goal is a cleaner panel without losing track of what each wire or switch does. The video uses a 2004 Sea Hunt Triton 172 as the example.
Watch the project
Toggle-switch replacement on a 2004 Sea Hunt
Captain Jan removes the old switch boots, finds rusted and broken terminals, installs replacement switches with stainless beauty rings, and demonstrates wrap-on wire labels.
How to replace the toggle switch
Step 1
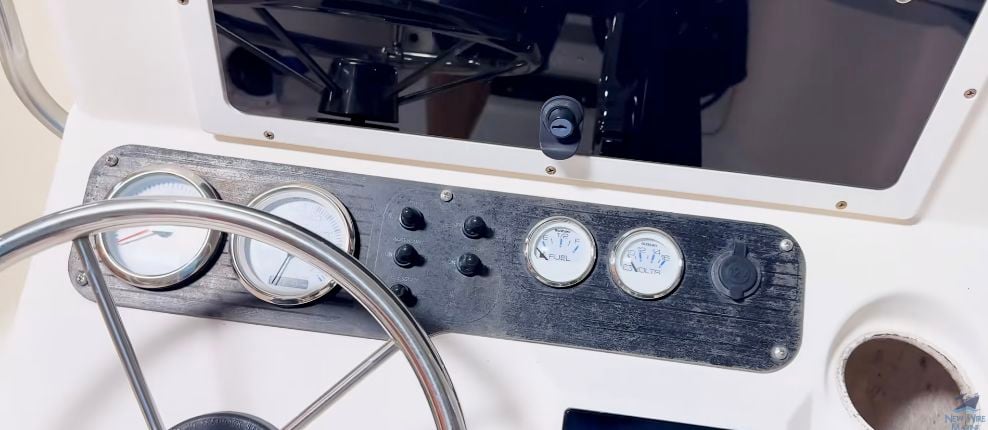
Inspect and document the existing switch
Look for rust, broken terminals, loose connections, heat damage, or damaged insulation. Photograph the wiring and confirm what the switch controls before disturbing a connection.
Step 2
Loosen the boot or retaining hardware
Unscrew the outer boot or nut. If the entire switch starts to rotate, reach behind the panel and hold the switch body while loosening the front hardware. Do not let the wiring twist.

Step 3
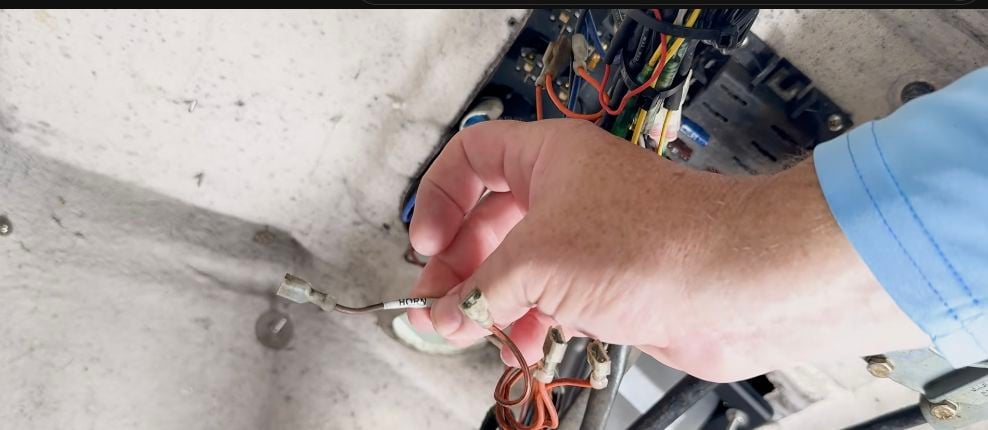
Label every wire before disconnecting it
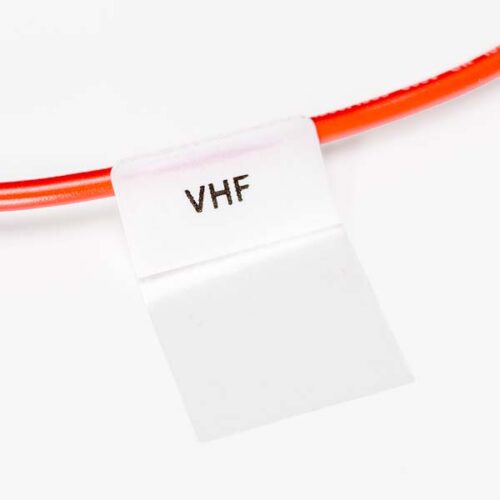
Use the photo, the circuit name, and the terminal position to create an unambiguous record. The wrap-on labels shown in the video can be applied without removing the existing terminal.
Step 4
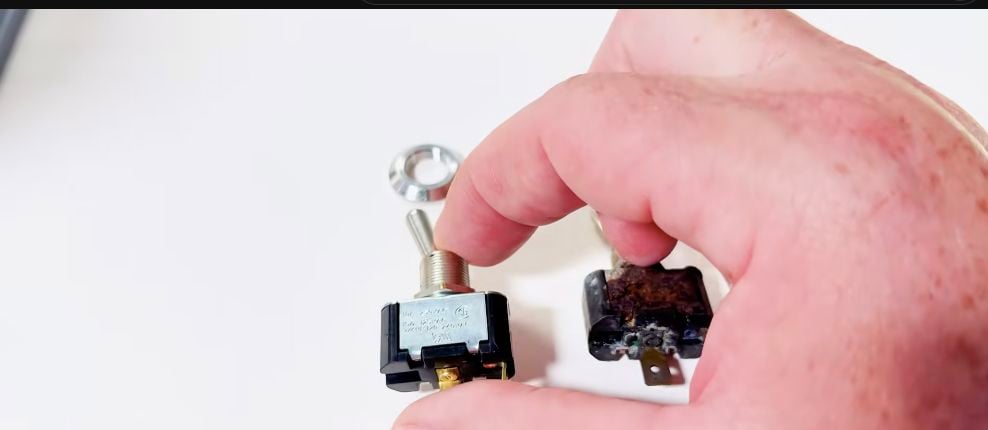
Install the compatible replacement
Compare the old and new switches before transferring a wire. Only proceed when the replacement function and connection information match the circuit. Move and secure one identified connection at a time so the remaining wires continue to provide a reference.
Step 5
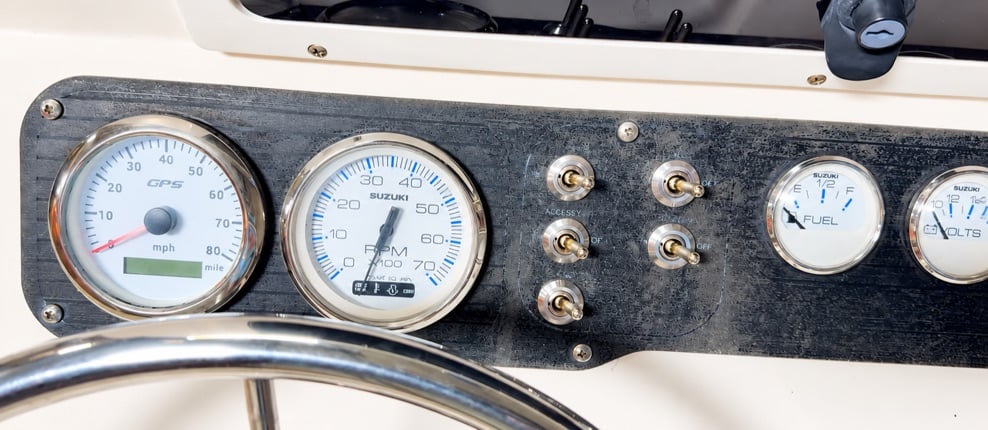
Secure the switch and add the beauty ring
Orient the switch correctly, hold the body so it cannot turn, and tighten the mounting hardware without twisting the wires. Confirm that the selected beauty ring matches the switch’s thread and the available panel clearance.
Step 6
Restore power and test the complete function
After checking that the connections are secure and clear of moving parts, restore power and test every switch position and the connected accessory. Turn power off again before correcting anything that does not operate as expected.
Beauty ring or protective boot?
The video replaces the old boots with stainless-steel beauty rings to give the dash a cleaner, classic appearance that coordinates with the gauge bezels.
A beauty ring is mounting and appearance hardware. It should not be treated as a universal substitute for any environmental sealing the installation requires. Confirm the switch, thread, panel thickness, clearance, and exposure before choosing the front hardware.
Compatibility note: New Wire Marine’s stainless toggle nut uses a 15/32–32 thread and is specified for New Wire Marine toggle switches.
Label now to make future service easier
Label the wires while you can still tell where they go. The next time you remove the panel or troubleshoot the circuit, you will not have to trace every wire again.
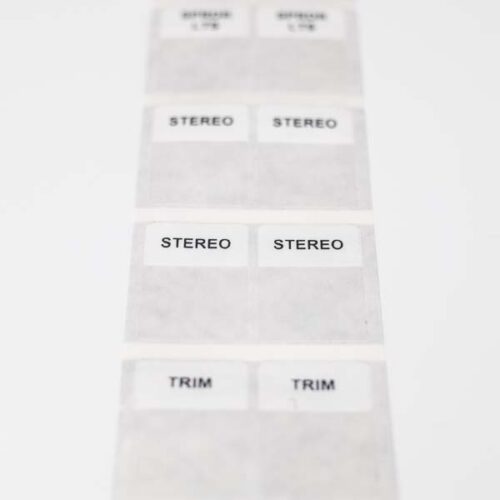
The self-laminating labels demonstrated in the video wrap around the existing wire. The clear portion overlaps and protects the printed portion, so the label can be applied without removing the terminal or adding heat shrink.
Match the switch to the circuit before you buy
The correct replacement depends on what the circuit needs the switch to do. If the function or terminals are unclear, review the wiring information before moving a connection.
Products used in this project
Choose the parts that match the project
The ON-OFF switch below is an example, not a universal replacement. Match the switch function, terminals, ratings, and mounting requirements to the circuit.
Choose the stainless beauty ring or protective boot that fits the installation; they serve different finishing and environmental-protection needs. The wrap-on labels help identify the wiring without removing the terminal.


Frequently asked questions
Can I replace any toggle switch with the same ON-OFF switch?
No. The replacement must provide the function, terminal configuration, ratings, and mounting compatibility required by the circuit. Match the switch using verified wiring and product information, not appearance alone.
Why does the entire switch turn when I loosen the boot?
The switch body may rotate with the front hardware. Hold the body from behind the panel while loosening the boot or nut, and do not allow the attached wiring to twist.
Will the stainless-steel beauty ring fit every toggle switch?
No. New Wire Marine’s stainless toggle nut has a 15/32–32 thread and is specified for New Wire Marine toggle switches. Confirm thread, panel, and clearance compatibility before installation.
Do I have to remove a terminal to add the wire labels?
No. The self-laminating labels shown in the video wrap around the wire. Their clear section overlaps the printed section without requiring the terminal to be removed.
When should I stop and call a marine electrician?
Get qualified help when the wiring is damaged or unclear, the replacement does not match the original function or terminal information, the circuit protection opens, or the project requires testing or repair outside your experience.
Keep learning
How to Wire a Boat
Follow the larger 12V DC circuit from the power source to the load and back through the negative return.
General Wiring Guides and Spec Sheets
Find supporting information for common wiring components and projects.
Components and Diagrams
Review component-specific diagrams and related technical information.