

Custom switch panel wiring options
Which Wiring Package Is Right for Your Custom Switch Panel?
By New Wire Marine Technical Team Updated October 5, 2026
The wiring package determines how much work is finished before your new panel reaches the boat.
Choose too little and you may spend more time building jumpers and organizing connections behind the dash than you planned. Choose more than you need and you may pay for wiring work you intended to handle yourself.
The goal is to match the package to your existing wiring, electrical experience, and installation plan. The same three wiring choices apply whether you design an E-Panel online yourself or work with a New Wire Marine project manager on a fully custom panel.
Watch the comparison
See what changes between the three packages
This short overview shows the No Wiring, Jumpers Only, and Fully Wired choices and explains who each option is designed for.
Package comparison
What New Wire Marine completes before shipping
These choices apply to both ordering paths. With an E-Panel, you design the panel in the online builder and New Wire Marine builds it from that design. With a fully custom project, a project manager works with you to develop the design before the panel is built. In either case, the wiring package determines how much work is completed on the back of the panel.
Most hands-on
No Wiring
You receive the panel without the internal wiring package. You make the jumpers, feeds, outputs, lamp connections, and boat-side connections required by your design.
Best fit: You are comfortable building and documenting the complete panel wiring and want full control over the installation.
A practical middle ground
Jumpers Only
New Wire Marine installs the panel jumpers. You connect the finished panel to the boat’s existing feeds, accessory wires, and other required circuits.
Best fit: Your boat-side wiring is reusable and you want the repetitive connections on the panel completed before it arrives.
Most panel-side work completed
Fully Wired
The package includes the panel jumpers plus an output harness. The E-Panel Builder uses a two-foot harness pigtail by default, with other lengths available in the builder. For a fully custom project, confirm the required harness length with your project manager.
Best fit: You want to reduce panel-side assembly and make organized, labeled connections from the harness to the boat.

The package changes what is assembled behind the panel before shipment. The boat-side circuits still need to be identified, protected, connected, and tested.
How to choose
Choose the package from the installation backward
Start with what is behind the existing panel and who will complete the installation. The front of the finished panel may look the same with any package.
Step 1
Document the wiring you plan to keep
Photograph and label the existing feeds, outputs, grounds or negative returns, and special switch connections before removing anything. Note damaged conductors, corroded terminals, and circuits that cannot be positively identified. Reusing an existing harness only saves time when that harness is suitable for the new installation.
Step 2
Decide who will build the panel-side connections
Choose No Wiring if you want to build every connection. Choose Jumpers Only if you want the internal panel jumpers completed but will connect the panel to the boat yourself. Choose Fully Wired if you also want an organized output harness leading away from the panel.
Step 3
Confirm the components and circuit protection
List each switch function, load, breaker or fuse requirement, wire size, and special circuit such as NAV/ANC, bilge-pump control, or a momentary horn. The wiring package cannot correct a mismatched switch function or an incomplete protection plan.
Step 4
Plan the handoff from the panel to the boat
Confirm the harness length, connection method, labeling plan, service access, and where the boat-side circuits will terminate. A clean handoff makes installation and future troubleshooting easier, regardless of the package you choose.
One detail to confirm
“Fully wired” does not always mean every input lead is included
For E-Panel Builder rocker-switch panels without circuit breakers, the current product guidance says the fully wired option includes output leads only. The customer installs the input leads from the fuse block unless input leads are requested in advance. For a fully custom panel, review the exact input leads, output harness, terminal style, and harness length with your project manager before approving the design.
Choose how you want to design the panel
Design it online: Use the E-Panel Builder to choose the size, material, components, wiring package, backlight color, and harness length. New Wire Marine then builds the panel from the design you submit.
Work with a project manager: Start a fully custom project when you want guided design help or need a panel shape, layout, or component arrangement developed with the New Wire Marine team.
Products for the installation
Finish and document the boat-side wiring
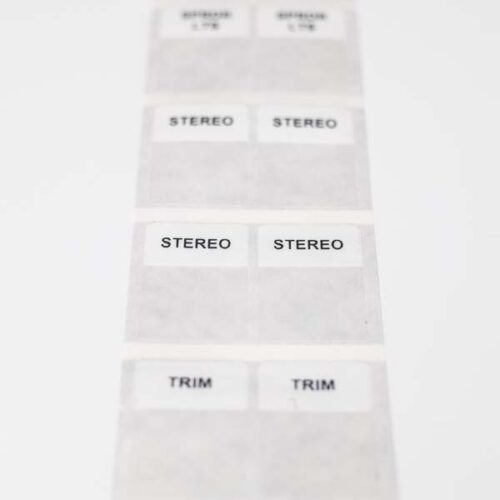
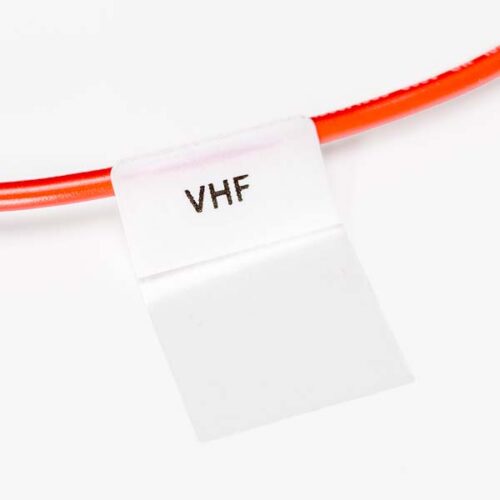
The panel builder is the starting point. Marine primary wire, a proper double-crimp tool, and self-laminating circuit labels support the boat-side connections and make the finished installation easier to service.
Select wire size, terminals, tools, and circuit protection for the actual load and installation. Product cards are included as project aids, not substitutes for the wiring plan.


Frequently asked questions
Do these wiring packages apply to both E-Panels and fully custom panels?
Yes. An E-Panel is designed by the customer in the online builder and then built by New Wire Marine. A fully custom panel is designed with a New Wire Marine project manager and then built after the design is approved. No Wiring, Jumpers Only, and Fully Wired describe how much panel wiring is completed in either ordering path.
What is the difference between Jumpers Only and Fully Wired?
Jumpers Only includes the connections within the panel. Fully Wired includes those panel jumpers plus an output harness leading away from the panel. You still connect the panel or harness to the boat’s power and accessory circuits.
Is No Wiring the same as a bare panel?
On this page, “No Wiring” describes the bare wiring choice: New Wire Marine supplies the selected panel and components without adding the wiring package. You complete the required panel and boat-side wiring.
Can I reuse the wiring from my old panel?
Possibly, but identify and inspect every conductor first. Reuse only wiring that is correctly sized, in good condition, suitable for the new circuit, and paired with appropriate circuit protection and terminals.
Does a fully wired panel connect directly to the battery?
Do not assume that it does. The correct connection depends on the panel design, included protection, and the boat’s distribution system. Follow the project documentation and use properly protected feeds and complete negative returns.
How long is the fully wired harness?
The E-Panel Builder currently specifies a two-foot harness pigtail by default and provides other length choices. Confirm the required distance and service loop before ordering.
When should I ask for help before ordering?
Contact New Wire Marine or a qualified marine electrician when the existing circuits are undocumented, the panel needs a non-rectangular or unusual layout, the required switch functions are unclear, or you are unsure about wire sizing, protection, or installation.
Related guides and source information
E-Panel Builder
Review the current wiring choices, harness-length options, panel limits, and ordering workflow.
Fully Custom Marine Switch Panels
Work with a project manager to develop the panel design, component layout, and wiring scope before New Wire Marine builds it.
How to Wire a Boat
Review circuit protection, wire sizing, connections, and the complete path from the power source to the load and back.
E-Panel Help Center
Find builder tutorials and ordering help for a custom panel project.