

SEAready horn switch upgrade
How to Add a Horn Switch to a SEAready Panel
By New Wire Marine Technical Team Updated October 5, 2026
A boat horn should sound only while you hold the switch. That is why it needs a momentary switch rather than the latching switches normally installed in a SEAready panel.
You do not need to replace the entire panel to add proper horn control. Order the horn switch combo separately, replace one installed latching switch, and match the rocker style and backlight to the rest of the panel.
When you are finished, the horn should sound only while you hold the switch, and the new rocker should look like it came with the panel.
Watch the project
Add a horn switch without replacing the panel
The video covers ordering the separate horn switch combo, removing an installed latching switch, installing the momentary replacement, and finishing the panel with a matching rocker.
How to install the horn switch combo
Step 1
Order the panel and horn switch combo separately
Choose the SEAready panel configuration for the boat, then add the separate momentary horn switch combo. Match the rocker series, cover color, and backlight so the new horn switch looks like it has always been part of the panel.
Step 2
Choose the switch position and document it
Identify the installed latching switch that will become the horn position. Before disconnecting it, photograph the connections and label the wires so the original arrangement is clear.
Step 3
Remove the installed latching switch
With power isolated, release the switch from the panel and bring it forward far enough to reach the terminals without pulling on the wiring. Support the panel and conductors while you work.
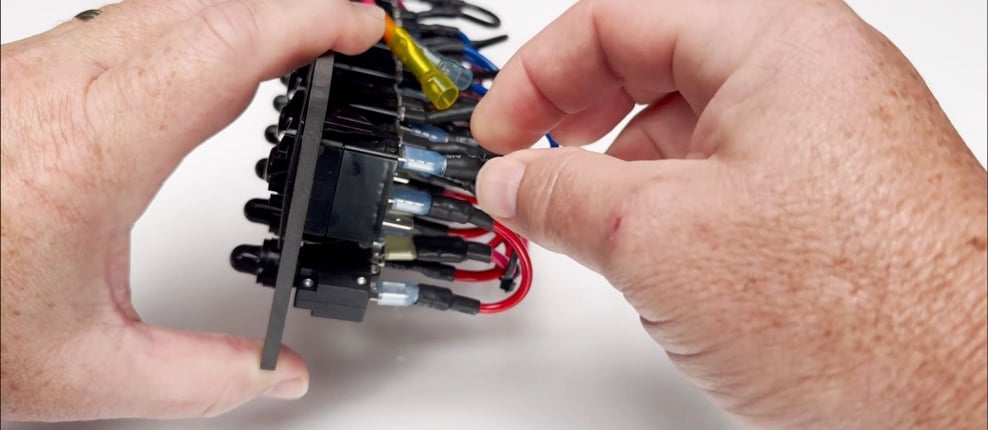
Step 4
Transfer the identified connections
Move one labeled wire at a time, following the wiring information supplied for the new horn switch. Do not assume the old and new terminal layouts are interchangeable simply because the switch bodies look similar.
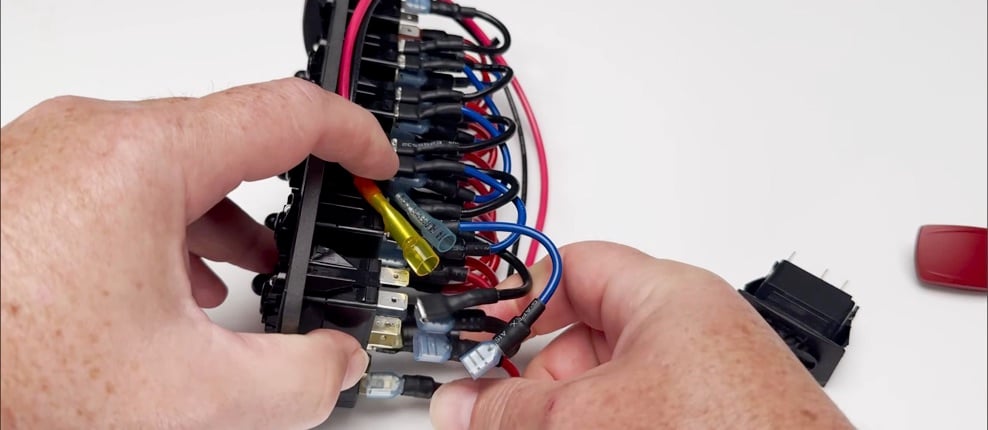
Step 5
Seat the momentary switch and install the horn rocker
Secure the switch in the panel and install the matching horn rocker cover. Check that the switch is fully seated, the cover is oriented correctly, and the wiring is not pinched or under tension.
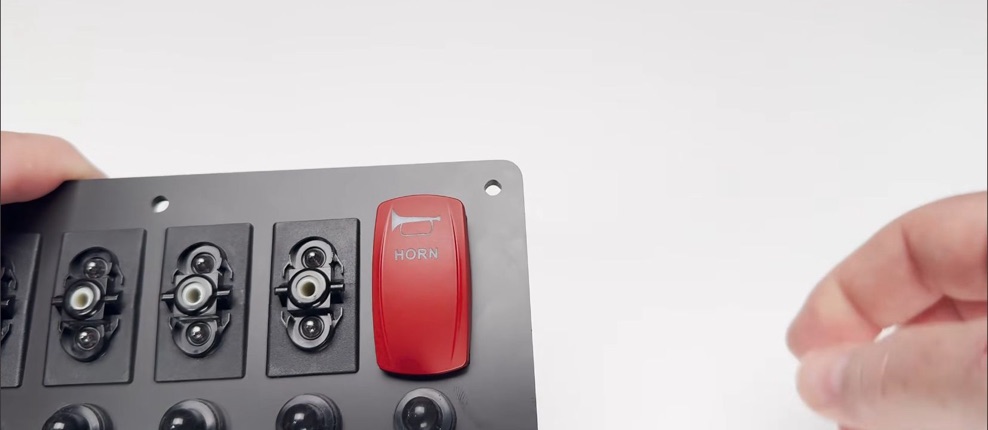
Step 6
Restore power and test the horn action
After checking the connections and reinstalling the panel, restore power. Press and hold the horn switch: the horn should sound while the switch is held and stop when it is released. Turn power off again before correcting anything that does not work as expected.
Why the horn needs a momentary switch
A latching switch remains in its selected state. A momentary (ON)-OFF switch springs back to OFF when you let go. That is what gives the horn its normal press-and-hold action.
Choose the switch by its verified function and connection information, not by the rocker label or exterior appearance alone.
Keep the new horn position consistent
The horn switch combo is ordered separately so its switch action can differ from the latching switches while its rocker still coordinates with the panel.
Match the rocker series, cover color, and backlight option to the SEAready panel before ordering.
Choose the panel first, then match the horn switch
Start with the SEAready panel configuration and backlight you want. Then select the separate horn switch combo that matches the panel while providing the required momentary action.
Products for this project
The panel, horn switch, and two useful tools
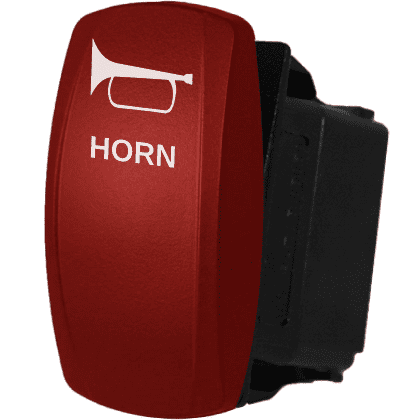
The video uses a six-switch warm-white SEAready panel and a separate horn switch combo. A cover-removal tool helps release the rocker without damaging it, while a handheld multimeter is useful for confirming power or diagnosing a problem. Confirm the rocker series, cover color, backlight, switch function, and wiring requirements for your installation before ordering.




Frequently asked questions
Why can’t I use one of the installed latching switches for the horn?
The project requires a momentary (ON)-OFF switch that returns to OFF when released. The installed latching switches remain in their selected state.
Is the horn switch included with the SEAready panel?
The panel and the horn switch combo shown in the tutorial are ordered separately. This lets you match the panel while adding the different switch action required for the horn.
Do I need to replace the entire panel?
No. This project replaces one installed latching switch with the separate momentary horn switch combo.
Can the horn rocker match the rest of the panel?
Yes. Match the rocker series, cover color, and backlight option to the panel when ordering the horn switch combo.
Can I copy the wire positions shown in the video?
Use the verified wiring information for your panel, horn switch, and boat. Do not assume another boat’s wire colors or terminal positions apply to your installation.
When should I stop and get professional help?
Stop if the wiring is damaged, undocumented, different from the available instructions, or beyond your ability to identify and test safely. A qualified marine electrician can verify the circuit before power is restored.
Keep learning
How to Wire a Boat
Follow the larger 12V DC circuit from the power source to the load and back through the negative return.
Rocker Switch Wiring Diagrams
Review available rocker-switch wiring information before moving a connection.